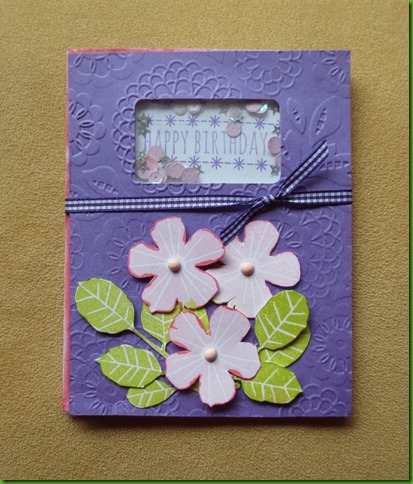
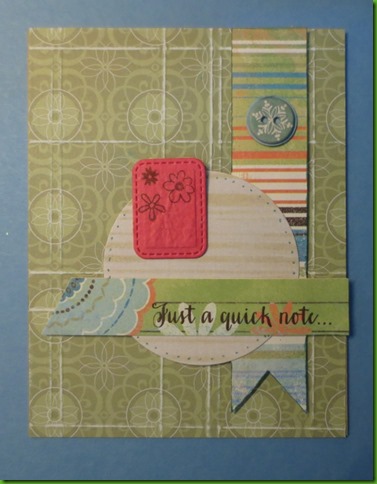
i should really just throw my scraps away….but the frugality in my won’t let me. This started out as a salvage of a thin little frame of pink but i ended up pulling it off and throwing away the very thing i was trying to salvage. I feel i made a mess of this entire card but every card has a home and it will get mailed to someone. I don’t do very well making shaking cards. sigh.
Saturday, September 24, 2016
#706 i heart u
love love love this kit from Simon Says. The layered look on the bottom card is all one piece of paper cut oh so carefully to keep the little bird in there. The small heart is stamp # 706. The enamel like dots are my sweet Viva Pearl Pens. Embossed the large heart in gold. I LOVE the Ranger embossing pad. It is the best i have ever used. You won’t be sorry if you make that purchase.
Masculinity
The cycle is a digi stamp. I had a request for that. It is colored with copic markers and white highlights. The one on the left was a request for a hunter themed card. I was glad to have the wooden tag to use. i’m trying to use them up. one more down!
Sunday, September 11, 2016
hang in there masked
I’ve always think this simple masking technique looks so neat and clean and i rarely remember to do this. Thought this was the perfect image to use this with. I think this little guy is just so cute. He looks lonesome though, don’t you think?
MFT Wednesday Sketch Challenge. This is a very simple sketch. I used the branch in place of the banner they have coming out from the side.
#705 Music to my ears
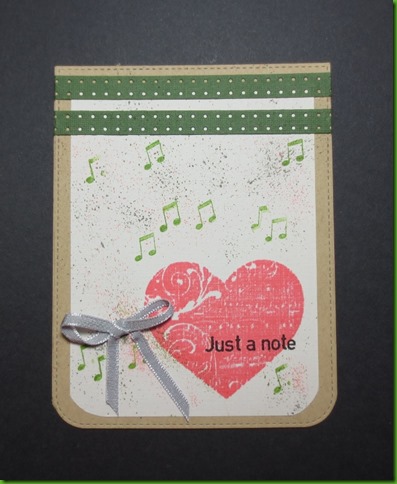
Music to my eyes, that’s what i think when i see a fun challenge go up. I’m always checking Simon for the newest challenge. It truly challenges me and if i have stamps from the company they are highlighting i do like to use them. That’s even more of a challenge. This week Simon’s Wednesday challenge is to use a stamp and if possible use one of their exclusive stamps. I chose this set. it’s called Music to my Ears from the November 2012 kit. I also used MFT’s color challenge #53 to create this and some items from their Blue Prints # 16. I really like this color palette. I hope i remember to use it again. MFT is also a company i often check into for inspiration. They have a great design team and i always hope i absorb by osmosis.
Bee Happy #704
Simon’s Monday Challenge is to use a stamp and no digi’s allowed. Also they are featuring their own stamps this week. I have a couple of their exculisve sets. I love this set that has such a cute bee in it. Otherwise i’m not much into bees. I’ve gotten a lot of mileage out of that dotted line trail though.
Using Simon’s stamp set called Circle Friends I’ll just go ahead and enter that challenge. MFT blue prints 15 and one of the MFT sketches. now just so you know, IRL all these colors blend nicely. Did you ever notice how most things that are green don’t photograph well? ah well….
Saturday, September 10, 2016
MFT Contest 2
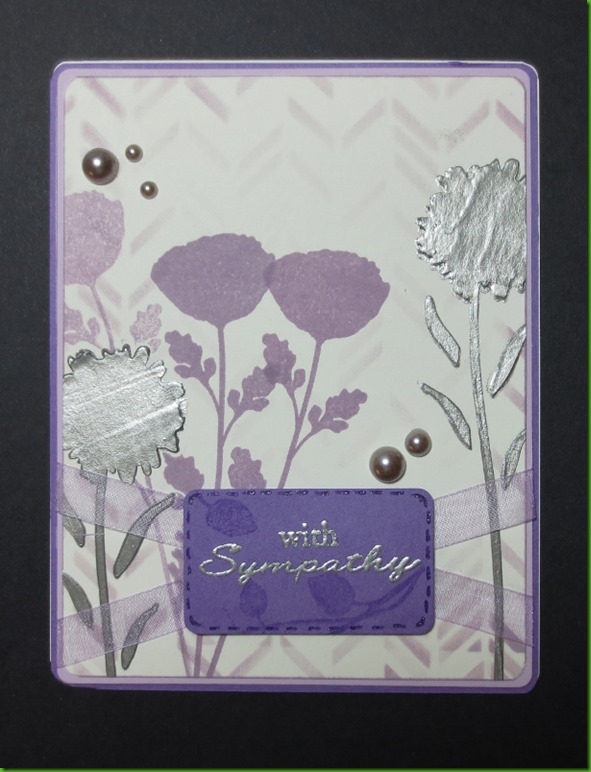
Another entry for the My Favorite Things Super Designer challenge. Using the MFT Scattered Bars stencil I lightly sponged through the stencil with MFT Grapesickle Premium Dye Ink and variegated pressure. Next step i took the LJD Wildflowers stencil and used some silver embossing paste on the one flower. I did two of the same flowers at varied heights to draw the eye into the center. After letting that dry I masked off the flower on the left with inkadinkadoo masking paper. Using my MISTI I stamped the two darker flowers three times rearranging the flowers. Then I stamped the lighter flower with the mask still in place. I added a leaf to the bottom by putting a smudge of the Grapesickle ink pad onto my craft mat and picking it up with a wet paint brush. I extended the stem and filled in the blank spots that didn’t get the pressure when i stamped because of the embossed image. I pulled out my die from Blue Prints five with the rounded corners and cut the grapesickle card stock. Next I put some contrast to this with a piece of grape jelly cardstock cut to 4.25 x 5.5 inches. I rounded the corners with a scalloped scissors to match the die shape of the inner panels. Blue Prints six was pulled out to create the tag that I stamped with a sentiment from the Wildflowers set. I took the leaves from one of the smaller flowers and pressed it into a Versamark pad to add a little something to the sentiment tag after embossing it with the silver embossing powder. Using some ribbon from my stash i crsiss crossed and popped the sentiment over it. It still looked a bit bare and I pulled out some silver pearls to finish it off. Thanks MFT for the challenging me to design my own special card.
MFT Contest
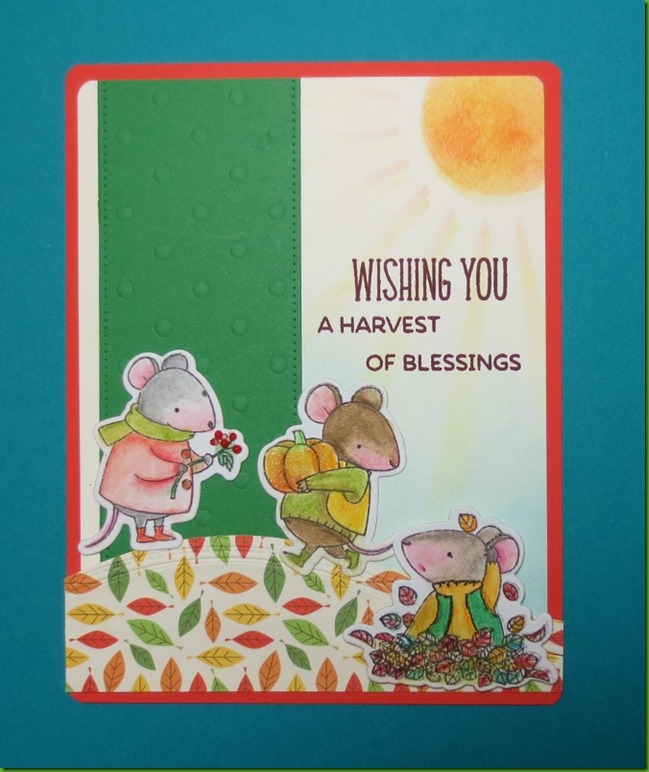
what fun this was to create this sweet fall card. My Favorite Things is having a designer contest. Check it out. There’s $250 for each of ten people to win. That’s a lot of MFT goodness. Let me list all the products I used on here. I started with cutting the card base panel from blue prints five with the rounded corners out of MFT Persimmon. Isnt’ that a gorgeous orange? For the next layer Whipped Cream MFT cardstock was used to capture the sun. To color the sun I pulled out MFT sun rays stencil and used distress inks to very lightly make the rays and a bit darker for the sun. Using MFT designer paper from the Fun and Frolic pack I cut a curved edge with my MFT pierced curved die. But oh, oops the piercing was on the wrong side of the cut i wanted to use. No problem. Line up the die on top of the curve and emboss it through the Big Shot. OOO…I like that look. Next I die cut all the little mice from MFT BB Harvest Mouse and then stamped them to see which ones i wanted to use. It is so fun to color these little guys. I die cut a pierced banner from MFT Field Green card stock with MFT pierced fish tail dies. I decided not to use the fishtail part and hid it under the hill. Before adhering it I wanted to give it a bit of interest and used MFT swiss dots stencil and ran the banner through the big shot for a subtle pattern. I colored all my images with Staedler water color pencils and used a blender pen to move the color around. I popped up the little guy in the leaf pile and used adhesive spray for the other two. Isn’t he cute looking like he’s going up the hill hauling that pumpkin and wondering why the other guy is playing in the leaves??? I added some crystal effects to the berries and wink of stella to the pumpkin. Lastly I performed stamp surgery and spread the sentiment from MFT BB Harvest Mouse set to line up better with the layout I chose. I used MFT Paver Red Premium Dye Inkpad. I had so much fun creating this little scene. Thanks MFT for a chance to win such a generous prize.
drop in dies (702-703)
-Those drop in dies make CAS cards so easy. Check out this frame with attached greeting cut out. How simple was this. Minutes!! I want to make cards to give as sets of ten to be auctioned off at our family reunion next August. This type of card would fill that order quickly and still be WoW!
Sizzix drop in dies video click HERE
hearts and flowers Stamp 702
ooo-ooo—some new dies came in the mail. These are called drop in dies from Sizzix. they have all kinds of cool things you can do with them. Like this. Lay the die on your open card stock and it cuts all these hearts with a frame around them. add some designer paper behind and you have a great eye catcher. To add some wow factor i water colored this flower from SU. I sprayed my water color paper with water and then inked up my stamp in two colors and pressed and held it onto the dampened card stock. For interest i turned the flower over and used a stylus to create some ridges for petals. I carefully split the sentiment to stamp onto the hearts. The little picture is what the inside looks like. The washi tape came about, cuz you know, sometimes you get ink where you shouldn’t. I was glad that happened because it looked pretty plain with that big old U on all that white.
hey foxy (stamps 700 & 701)
it’s probably been two years already that i ordered the autumn kit from Gina K Designs. I’ve barely used it but i do love it. I’ve used mr. fox before but he’s so cute i just had to pull him out again.
I bought these “cover ups” in a variety pack from Michaels and this was the thought i had with how i would use them. I love how it turned out. it is a layer but doesn’t have such stark layering look after i used distress ink on it. It was the perfect back ground for my fox and the sweet tree.
Embossed Vellum
Another super simple creation. Princess Judy has sent me lots of various goodies in a couple of different giftings. I don’t always remember to use things peeps give me because, you know, if you don’t purchase it you kind of forget you have it. But THIS, THIS beautiful embossed vellum, I kept out in the open as i knew I wanted to use it but the big question was HOW? I picked up a piece of green cardstock that was perfect to layer behind the vellum and really let the butterfly design show. I had tried other colors before but none of them really worked like i wanted them to. The “green” is the same green that the sentiment is stamped on. That piece of satin ribbon with the vellum just upped the elegance of this card. Thanks again Princess J. for thinking of me. 
Stencil fun
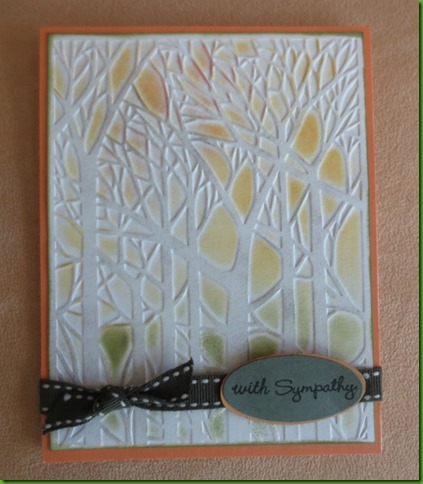
This was such a simple card to make. I used a Dream Weaver metal stencil and ran it through my big shot with 110 lb. card stock. I took spong daubers and leaving the die in place i daubed ink into the various areas. added a bit of gray to the trees and that was it. I used a marker to put a green border around the white to set it off against the orange. It was the perfect sympathy card for the family of a woodsman that recently passed.
This next one is the same technique. I think I will get more use out of my metal dies this way. I do want to get some embossing paste out though and play with the drawer full of metal stencils that i have. Be on the look out for those.
Really??? I made a winter card?? in the early fall?? I don’t know what this tri-fold die wouldn’t get out of my mind so i went ahead and pulled it out and laid that thought to rest. I used pre-embossed card stock and the patterened paper i used was actually flowers but cleverly cut to look like snowflake beams. proud of myself for using three pattern papers again.
Thanks for stopping by again and i do enjoy all your encouraging comments. mwhuaaaa!! ![]()
Friday, September 2, 2016
Babies Babies
thought it would be fun to make a couple of baby cards. i posted them on FB and boom, they were snatched up before the post finished posting. So that was fun.
Simply Striped
simple way to use up a bit of pattern paper. one of the tips i learned was with striped papers you can just pick the colors out of the paper stripe and it just makes matching the coloring part easy. I think this little guy is so cute and so lucky. I never even bought a fishing license this year and there’s not too many days left for fishing. The evenings are shorter way too soon. Simon’s Anything Goes Wednesday.
what a surprise
i just started playing with stencils and new die cuts and this beautiful piece emerged. I want to thank my friend Princess Judy for the large chameleon die. Ha Ha, when i opened that gift of dies from her I thought, whatever am I going to do with these large lizards. I was a bit apprehensive back then. I love how this came together and Mr. Lizard was the prefect finishing touch. The bricks are the negative spaces of the new Tim Holtz corner dies. It was just so fun to put this together without having a clue what i was doing. The sentiment was hiding in a very old Mark’s Finest Papers set. Perfect! Entering into Simon’s Anything Goes Wednesday.
new names

Using up Pattern Papers
For this fun card I took designer paper and scored it unevenly and then used a bit of sand paper on it to get distress lines. This was just a fun card to put together following a layout of Shari Carrols. I really like how it turned out. Entering into Word Art Wednesday Anything Goes and Simon Says Anything Goes.
13 days, really???
So here’s a card in cool wintry colors though the theme is rather fallish. I played along with MFT’s Color Challenge #52. Simon Says Monday challenge is all about sewing and i put faux stitching around my panel. Word Art Wednesday is always a great place to enter the Anything Goes Challenge #246-247


