Monday, April 29, 2013

Spring Snows

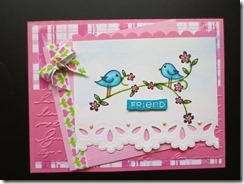
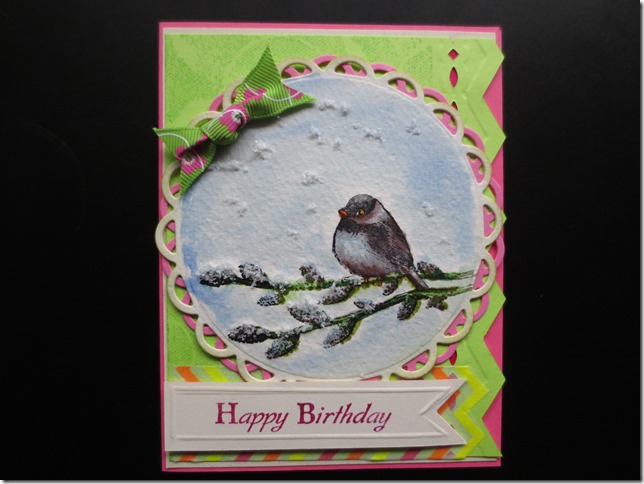
Our blog challenge this month for the flybabies is Spring Snow thrown out there by LuvLee who LOVES snow.  Me, I’m at the point I could ship it all to her, thank you very much.  But it did make me go searching for the perfect image to show case her challenge, which was to show snow on some kind of spring image.  I think I saw some pussy willows trying to bloom while on my walk a week ago but I’m afraid they got stunted with the continuing cold weather.  Maybe by the time this gets posted on April 30th we will have had some sunshine and warm days.  Today is April 23 and we haven’t seen any full sunny days yet.  Saturday the sun came out but it was wicked cold with 32 degrees and very strong winds out of the North East and that is a very cold corner.  I made a card like this for Edith too and promptly sent this one off to Lee for her April 20th birthday.

Made my own fishtail tag.  I do like my Scor Buddy.  Also used Edgeablities.  Those things are great.  Makes all kinds of borders.  A little Washi tape under the tag and PINK of course, for Lee.
IMG_0580

Wednesday, April 24, 2013

Two more ways

IMG_0638

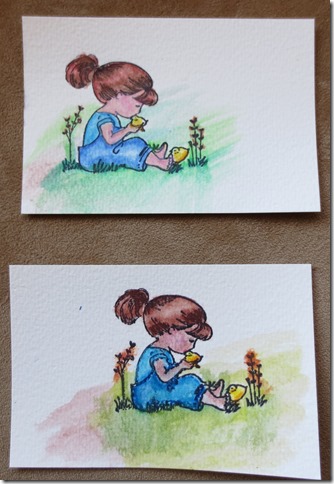
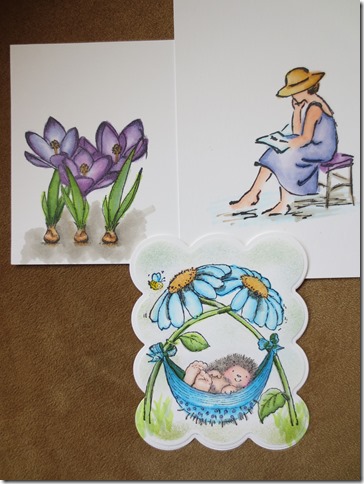
How many mediums can you use to color one image.  ha ha.  Confused smile  The bottom image is done using water crayons.  The top one is done using water color pencils.  I guess I still need to try Ko-hi-noor and Crayola pencils.  As of  today, my favorite technique for water coloring is using the pencils.  There was much more control.  Not nearly the bleeding of the water coloring.  Good shading capabilities. My next test will be to try the pencils on regular paper.  What one needs to remember is when you are using water color paper, you are doing a whole different style than using smooth paper and can’t expect the results to be what smooth paper gives.  There is a place for both, depending on the look, you are going for.  Mostly I prefer using smoother paper because the water color papers seem to have a yellow tone built into them and that limits what you can do with the image when it comes to making a card with it.  It’s been a fun experiment.  I’m glad I have gotten some of my coloring mediums from rummage sales. Now the question is, do I really need to keep them all?

Tuesday, April 23, 2013

Water Coloring vs Copic Coloring

IMG_0635

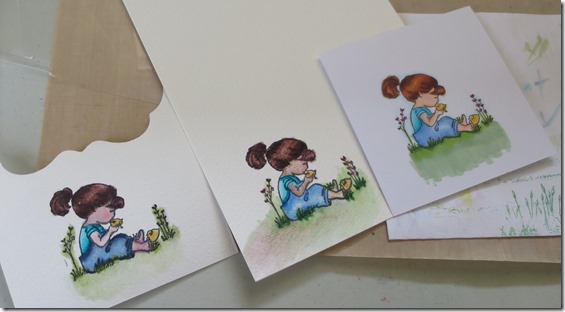
Just doing a bit of testing.  I watched a video that said you could do Copic-like coloring with SU markers.  I did find out some interesting things.  The first two images are done on SU water color paper with SU markers.  The third image is Copic.  You can’t tell so well in the pictures but for me; it just seems a lot easier to use the copics.  Would I use the water color technique again?  A most definite yes as I have all the colors of SU markers and that gives great variety.  I don’t have that many Copic markers.  What I learned using the water color paper is about the grain.  I found in the first image the color did not bleed as much and the grain of the paper is going in the vertical direction.  The second one I had the grain going horizontal and found it difficult to maintain the color.  The surprise was how brilliant the watercolors come out compared to the Copic.  Flesh tones were very hard to do with the water colors.  I also found that no matter that I used Memento or Staz On and let them dry overnight, they still picked up the black and made the skin tones look muddy on the water color paper.  I never have that problem with Memento and Copics.  Image is from Oscar’s Door County Rubber Stamps. Fun on the farm series, this image is named Precious.

I hope this is helpful in some way to you.

Thursday, April 18, 2013

Well, it was fun.

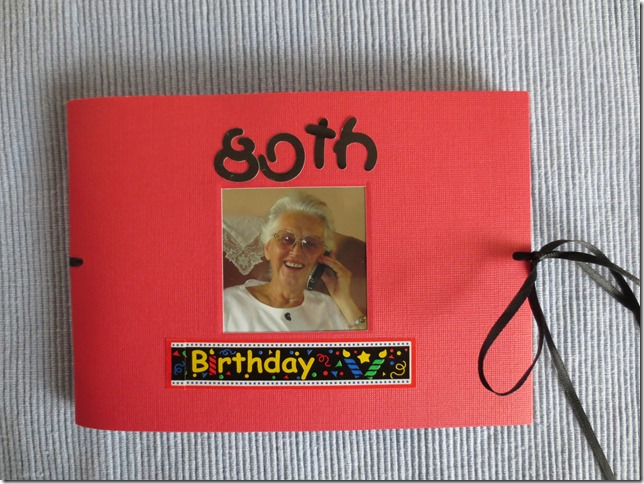
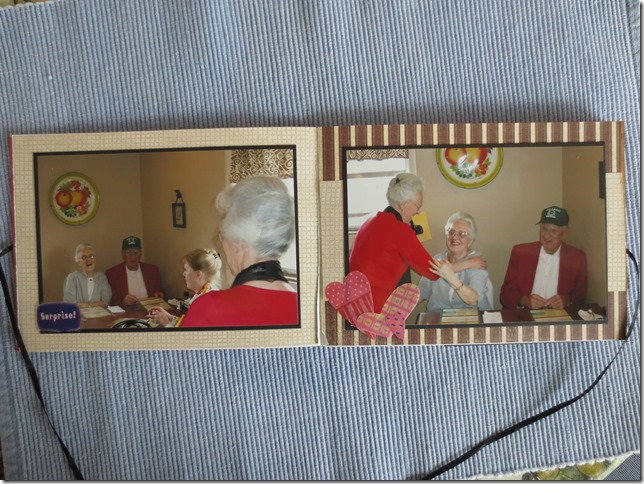
I had some free photos coming from Creative Memories and when Gilbert suggested I make a little scrapbook for Ellen as a remembrance of her 80th birthday, well, that just sounded like a great idea to me.  So I haven’t been completely neglecting my craft room.  I set to work to make a small twenty page book with real photos.  Oh my, this is why I like digi so much.  It took a bit of time even for a small book but I did have fun and I love how it turned out.  I think she will like it too.  I put it in the mail for her the other day and it will be a surprise for her when she gets it.  We got a beautiful thank you card from Ellen and she was so happy we had come down that Gilbert said it was worth going just to get that card.  Open-mouthed smile  I just wanted to have a memory of making the book and that’s the reason for my post.

IMG_0565 IMG_0566

oops!

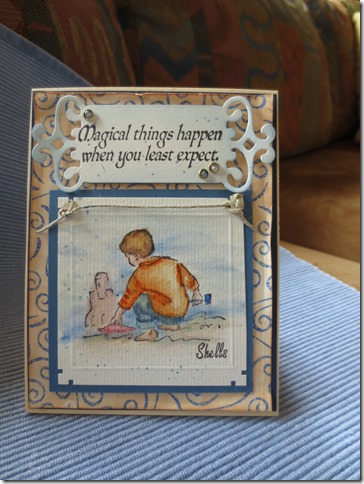
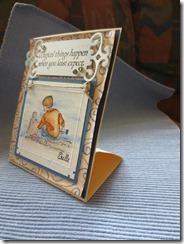
Sometimes in creating nothing seems to go quite right.  With this card, it seemed I kept getting adhesive on everything, then the paper bent while distressing it, I didn’t have the right color gems for it and the finale, once I put it together I realized I had the image upside down on the folded cardstock.  I will likely send this to Sarah after a bit but right now it adorns my desk sitting right by the big shell I brought home from Cozumel one year.  When you have lemons…make lemonade, right?   So the gems; did you know you could color clear gems with copic markers.  they turned the most perfect shade of blue for me.  I added a bit of texture to the image with my scor pal that seems to enhance it.  All the edges got bent up to make it look like it was supposed to happen and I turned it into a stand up card instead of an open up card.  tee-hee  This was an image I tried coloring with the stampin up markers with a copic like look.  IMG_0585  Thanks for stopping by.

 IMG_0586

Wednesday, April 10, 2013

The anatomy of a card

IMG_0534

mftsketch        IMG_0535 (600x800)

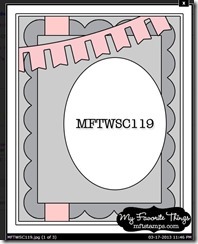
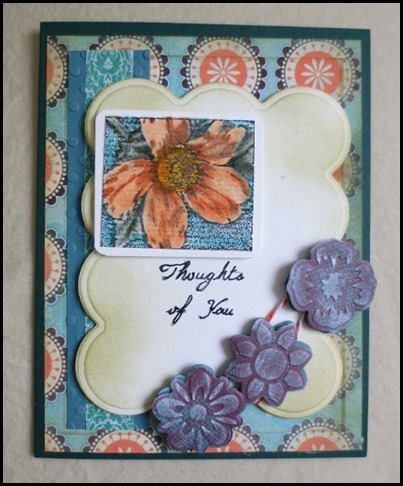
Today was clean, clean, clean but I have to take a couple of breaks from that and the MFT sketch of the week was calling to me in my mind.  I’m not much of a banner lover.  It looks fine when others do it but I’m never in love with the ones I do. 

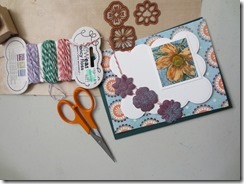
On the left, this is what was accomplished in one ten minute break.  The image was already colored. Come up with the idea, find the CS, cut, score and fold it.  Cut and mat the image.  Find the right BG paper.  Find the paper for the flowers.  Cut BG paper, die cut and emboss the scallop piece.  Die cut and emboss the flowers, get the twine cut and wrapped around the scallop piece. 

Then after 45 min. more of cleaning, go and finish the card.  Fourteen more minutes.  Cut out mats for the flowers, use dimensionals and pop them up on the mats.  Swipe with white ink pad. Score the flowered paper at 1/4 inch all around. Distress that piece with green.  Distress ink the scallop rectangle. Cut blue strip, cuttlebug emboss it, add piece of Washi tape.  Use scallop scissors to round edges on mat of main image. Stamp sentiment on Stamp a ma jig mat and place and stamp sentiment on rectangle.  Put dimensionals on scalloped rectangle and main image.  adhere adhesive to all papers and assemble card and voil’a we have a card.   In essence I flipped the sketch and did a “psuedo banner” with the flowers on the bottom rather than going across the top.  It just flowed better that way.  I got all my stuff put away in that same fourteen min. time frame.  Sometimes it just goes together! Smile  course, I don’t do anything too complicated either.

Sunday, April 7, 2013

NAUTICAL NICENESS

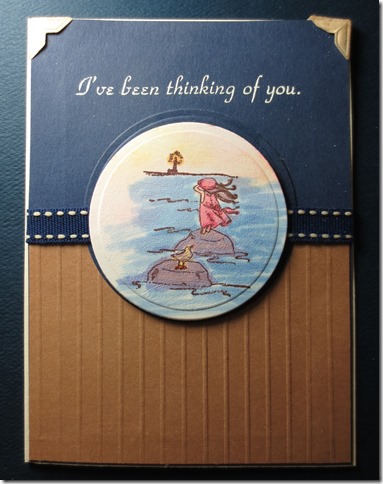
This sweet little card came together so nicely.  I had no idea what I was going to make when I started.  I just wanted to get this little image colored and off my table.  It’s been there for almost two years. This is from Oscar’s Door County Rubber Stamps.  Sarah has the stamp, she just stamped me a few images a while back. When I thought Nautical, I was kind of at a loss, then I went poking around on pinterest.  I didn’t copy any certain card just looked at some of the techniques and I like how this turned out.

I had these photo corners in the give away pile and I guess I’ll keep them.  They were the perfect accent for this creation.  They really are both the same color, it just doesn’t look it in the photo.IMG_0518

STORAGE

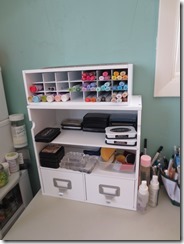
It was great fun to find the storage unit I wanted at Michaels for only $18.00.  They were marked 60% off at our store.  I put it together myself, LOL.  If I can do it anybody can.  I love the look of it and how handy it is.  The top piece that holds the markers can come out and be free standing too but I am trying to give myself more space on the table area itself.

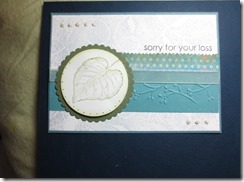
I will also post the other cards I made yesterday after getting home from the training class for my franchise.  Making cards is just the perfect way to unwind.  I never seem to get too far ahead on sympathy cards.

IMG_0505

IMG_0511

IMG_0512

IMG_0514

IMG_0515

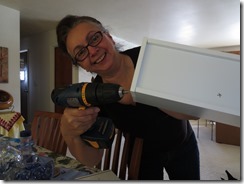
  So there’s a fistful of pictures for you.  I set the camera on timer to take the picture of me with the electric drill.  I started out using the hand held screw driver but by the time I unscrewed the thing three different times, I decided to go ahead and bring up the cordless from the basement. 

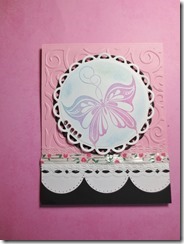
On the pink card…..I got that pretty lacy ribbon with the flowers from Good Will.  It’s a really thick roll.  I’ll get lots of use out of that roll.  I cut a black shape the same size and shape as the white one and stuck it behind to give a bit of pop to the white piece.  Once again the bling was a good addition.  (I found lots of bling that needs to be used up)  Thanks for visiting.

Saturday, April 6, 2013

One never knows

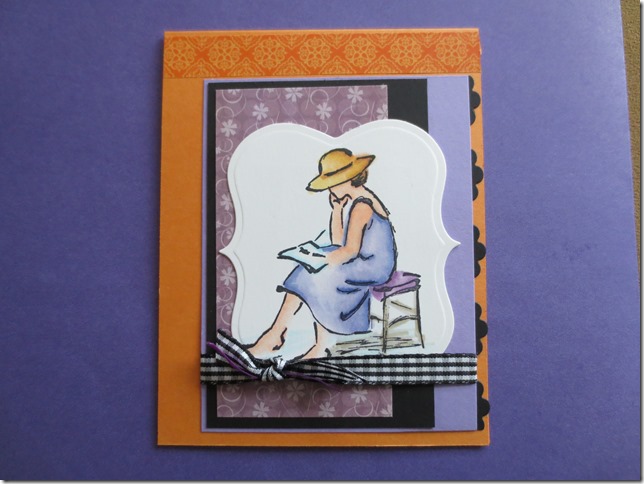
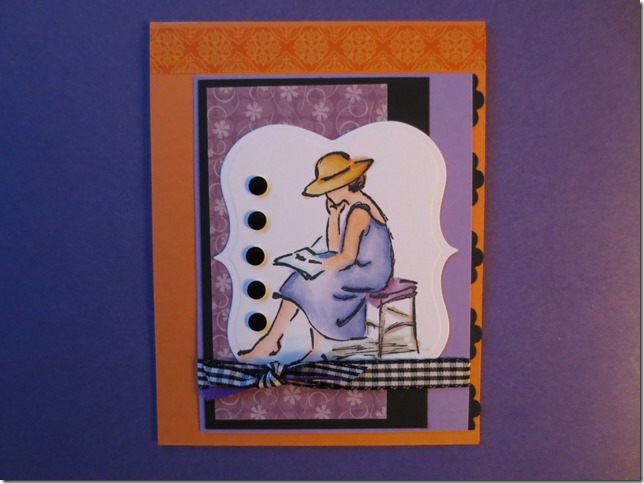
One never knows, when in the creative process, how an image will turn out.  This was one of the practice images I colored using copics.  I had these papers from GinaK Designs that I am trying to use up.  (pssst….her kits are a really great deal) you get a lot of stuff.  I have made so many cards from this kit and still have papers left.   All the papers on here are from her kit.  After putting it all together I didn’t like the empty space at the top.  I was tired last night and just couldn’t think what to add to it.  This morning I was going to add some Pearl Pen drops and oops I forgot to do a test squeeze and I ended up with a pearl the size of a large pea.  I didn’t like the way it looked so I scraped it off but it left a blob….hmmmm….Aha Washi tape to the rescue.  I thought I was finished but then I kept looking at it.  I took a picture of it, it was complete.  But this afternoon I was going through a drawer and sorting and I found these black shiny dots, (joann fabrics. $1.00 rack) they look perfect on here and just finish it.  I am posting both cards again so you can see what “taking it up a notch” does.  Thanks for looking.

IMG_0494

IMG_0500

Friday, April 5, 2013

Remembering Meta Anderson

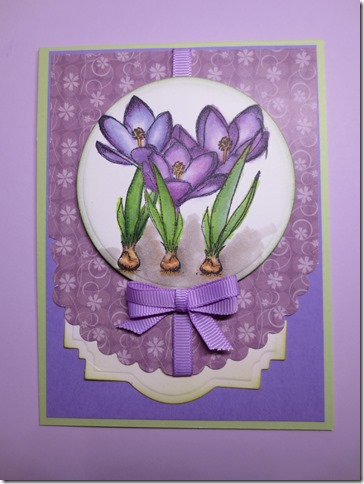
Made this card for Len and Diane.  Meta was such a wonderful woman.  Very humble, very spiritual and yet full of fun.  Always had a twinkle in her eye and a smile on her lips.  I’m thankful when the elderly die in the spring time of the year.  When the promise of resurrection is all around us and no matter how bleak and long the winter seems, eventually comes the resurrected life.  The seed has died and it comes to life again.  Sweet Meta we know you are alive in Christ.

IMG_0493.

Something different for me

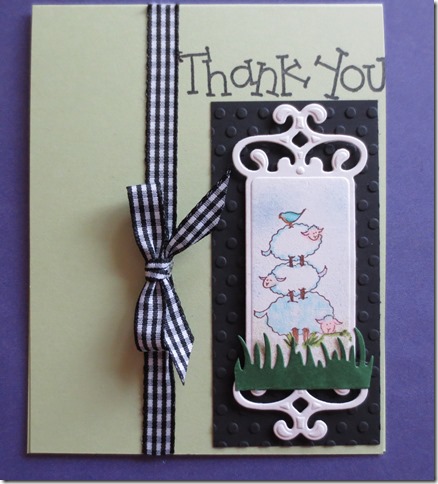
Just started playing around in the stamp room.  Still had one of these images that needed coloring and made into a card.  It is SO cute from Oscar’s Door County Stamps.  Click the link on my sidebar to see what all she carries.  I love her cute stamps.  She makes them herself.   After coloring this and it was on a long narrower piece of card stock, I just decided to turn my Spell Binders die vertical and cut it out that way.  I loved the effect it gave these cute sheep.  Then leaving the die in place I just added a bit of Distress inks.  I was just thinking the other day how I have this cute black and white gingham ribbon and I never use it.  This was the perfect card for using a bit of this.  And of course my trusty bow easy always gets used.  Thanks to my sweet friend Angie Bode who was so thoughtful to send me some grass die cuts in the mail.  (and a bunch of puppy stamps too) Cat face

I will give this to my Team Leader for Unicity tomorrow.  She always does so much to make sure we are all up to speed with the team.  Thanks Julie, you’re a true leader. I am entering this in the Simon Says Blog Anything Goes Challenge

IMG_0490

A card for Jinny

IMG_0483

          IMG_0484

Just looking for input here.  Angie, I know you will love all this PINK!  Open-mouthed smile  Anyway, leave me a comment and just let me know if the doily distracts from the card.  I was just trying to photo not just a “bare-nekkid” card.  Winking smile  let me know.  Anyway I think she will love it and I was able to use that caaauuuttte roll of ribbon I got for fifty nine cents at Michaels. I am entering this in the Simon Says Stamp Challenge any birthday card.

Practicing Practicing Practicing

Gilbert is in Madison and I have this Friday Fun Day to myself.  I decided to watch videos about how to use Copic markers and start practicing.  I need to figure out the whole “light source” thing.  Trying to wrap my mind around that.  Here’s todays play day.

IMG_0485