Tuesday, April 29, 2014

Stamp 213–western flair

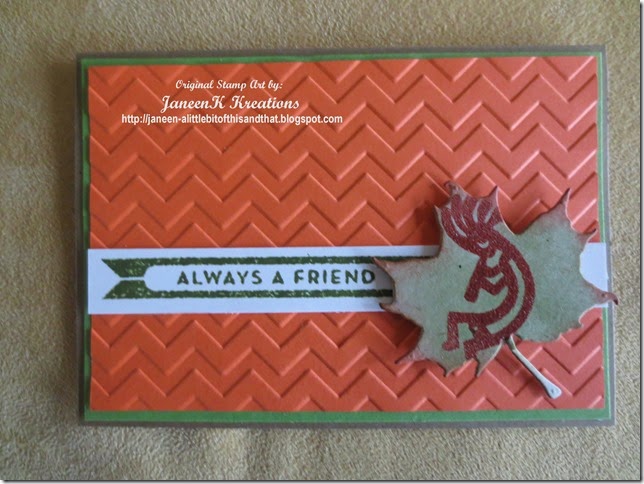
Clean and simple doesn’t have to be boring.  I have a kokopelli wooden wind chime hanging at the corner of my living room and hallway.  Same color as this guy too.  (that’s good feng shui) to have him hanging there where the two corners meet. IMG_4830

Clean and Simple (CAS) doesn’t have to be boring.  I wanted CAS but not white.  Used a SU embossing folder and Simon Says sentiment and their wonderful new ink color called Burnt Orange.  I embossed it really quickly with clear embossing powder after I stamped koko-p onto the chipboard leaf I cut out with my SNSS die cut.  Distressed the edges of the leaf,  popped it up,  and there you have it.  Stick a fork in me, I’m done.  as in I think I need to go and take a nap.

Simon Says Wednesday challenge is CAS.

Ribbons and more

IMG_4825
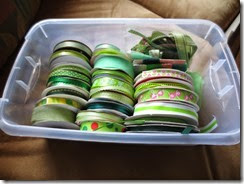
The way I was storing my ribbons was not working for me.  I need a different system.  The dollar store had these perfect size bins for $2.25 and I picked up four of them.  Because I still don’t feel too well today I only sorted one of them.  I went in to stamp a card but the storage containers were saying you have to at least fill one of us.  I chose green.  Would you believe I have 47 different green ribbons, so how come I can’t find the perfect one for any given card.  I think because they were buried.  This should help. 
My cards today are pretty simple but at least it felt good to do something besides lie on the couch.
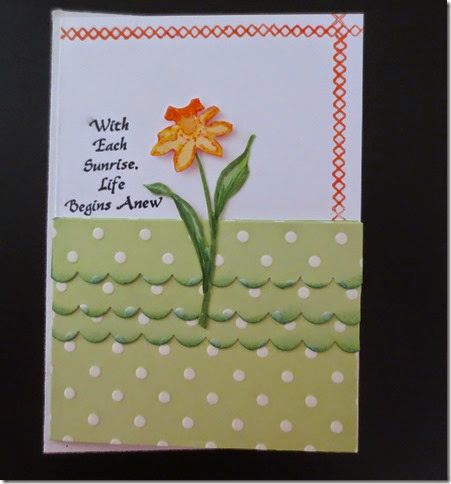
  IMG_4828I made this one for Simon Says Monday Challenge.  Notice I got some green ribbon on there? Also using one of the Rain Drops acrylic dots to highlight the flower.  IRL it is on straight, it just looks off in the photo from the angle I took the picture at.  FAux stitching with a white gel pen.

Our son bought this stamp for me way long time ago when he and his now wife were still dating and lets see they are married 13 years now.  I haven't used it much because its a solid stamp but i really thought it was nice of him to stop at a stamping store and pick out some things for my hobby.  They also bought me some yellow, pink and red Liquid Pearls Paints.  I think they called them radiant pearls and they were in little teeny containers.  I still have some of those too but i have gotten the most use out of those by turning them into my own Smooch sprays.  Good memories attached to this stamp #212.

Monday, April 28, 2014

MFT Sketch 173

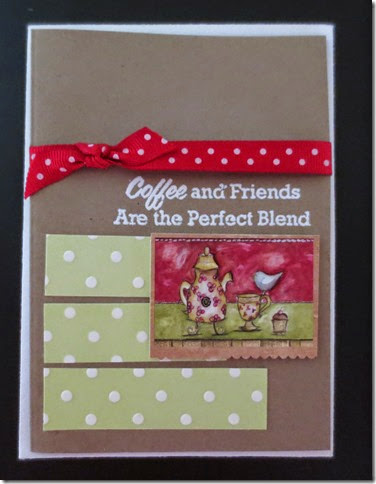
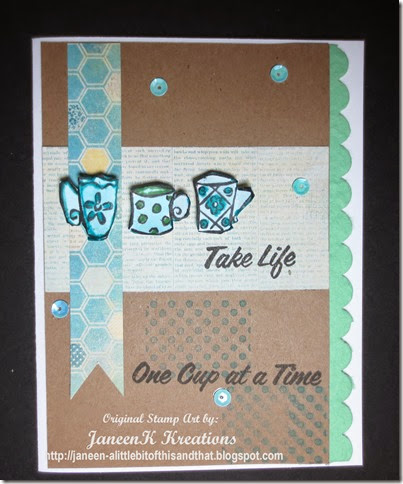
Wanted to quick get a card made for MFT Sketch.  I used By the Numbers set for the little dots and also the senitment is MFT Clearly Sentimental about Coffee.  I really enjoyed this simple sketch. I could do it even being sick.  Sick smile  This is another one of the smaller cards. 

. IMG_4824

Moving on…Stamps 206-207-208-209-210-211-212

Years ago when I was still kind of new to stamping I found these wonderful watermarked linen envelopes in the perfect card size, a box of 100 for really reasonable as the stationery store was going out of business.  Well when I got home and made my card to tuck into the fabulous envelope, oops the card was too big.  The envelopes were not A2 size.  Which, back then, didn't mean a thing to me.  Over the years I have used up about thirty of them.  Now my challenge to myself is to make 64 cards that size to get those envelopes used up.  I also have a pack of Kraft paper that I don’t really like the color of so much and it’s not heavy enough but it will still make nice layers.  I hope to use up both of those goodies in the near future.  Keep your eyes peeled for lots of Kraft goodness coming your way.  The finished size of these cards is 5 1/8 x 7 7/8
And I’m not sure why these all photographed wonky like the layers are coming off the paper, they are not.  I did set them on the envelope for some odd reason unbeknownst to me and maybe that’s why they look funny.  nonetheless here they are. IMG_4813IMG_4812
IMG_4815
IMG_4816
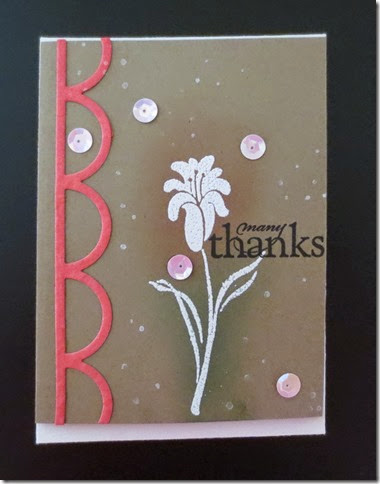
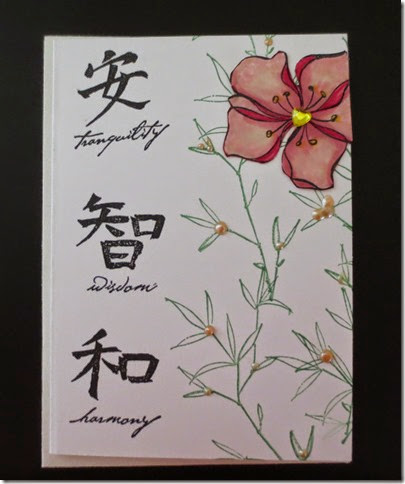
Because I am ready to hit the sack (this virus thing is kicking my butt)  I won’t go into much detail.  The stamps are all Stampin’ Up.  I was inspired by my friend Judy to do the Asian and the Scallops.  We had emailed “talked” about both those concepts a few weeks back.  Kept it in my head and wanted to use those stamps to mark ‘em off the list. The hibiscus was cut out and layered onto the card.  The Lower left is emboss resist.  The  coffee sentiment is from MFT.  I still have about six of those little coffee images to use up.  My daughter gave me them from off the back of her calendar about three years ago.  WHY do I think I MUST use them.?  Cuz they are so cute and I can’t stand to throw them away…..my own dilemma.
Thanks for stopping by today.  Hope you are enjoying your spring, enjoy it extra special for us cuz we are still feeling wind chills of twenty eight degrees.
Busy Busy with digi-scrapping

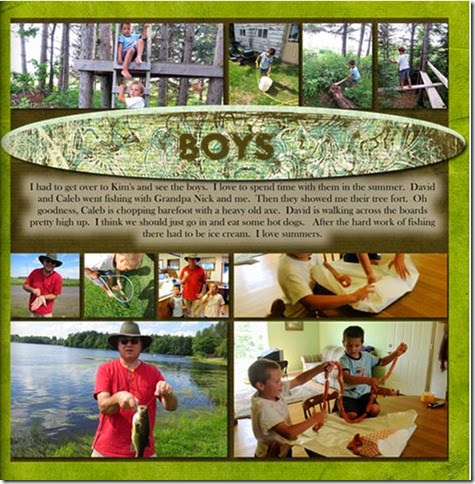
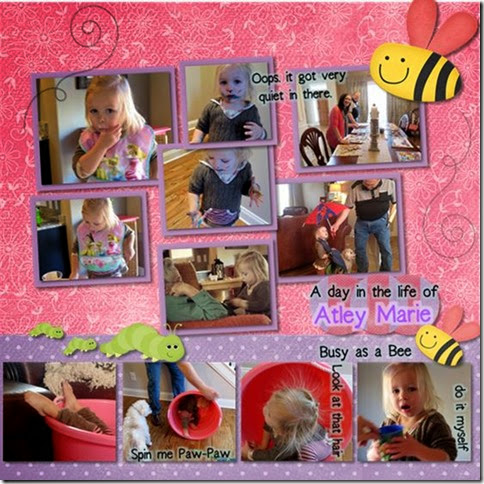
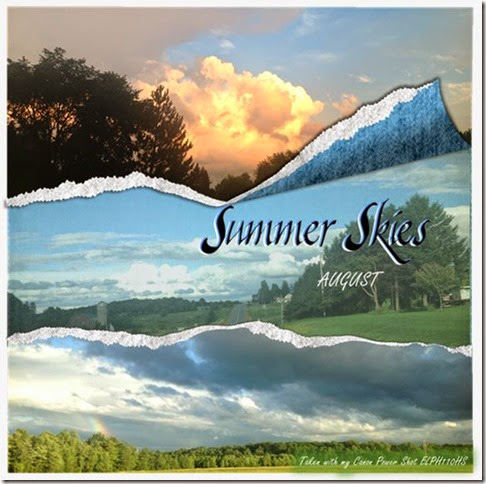
Sorry I haven’t posted in a bit.  I have been a digi-scrapping fool.  I finished twenty eight pages in two and half days.  Here are a  couple of my favorite pages.  I use the Panstoria Digital Software and have loved loved loved how easy it is to use and what all you can do with it.  My adorable little southern great-niece and then the boys are my great-nephews. boysatley


sum

Thursday, April 24, 2014

Wasn’t sure how this was going to turn out

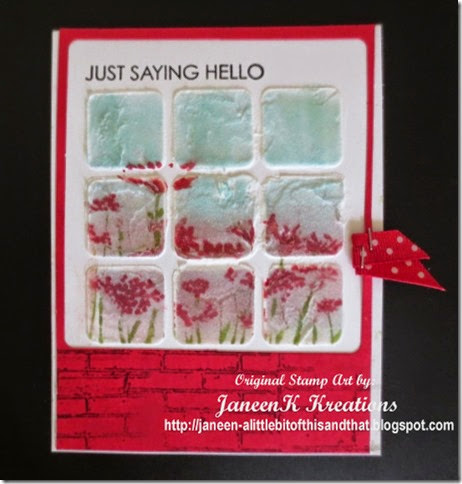
But hey, I’ll never know unless I try.  I wanted a stucco tile look.  The Dream Weaver original paste worked well for this.  Then I took a SU solid silhouette stamp and inked it up in two colors.  It didn’t stamp very well over the rough stuff so I took a marker and just dotted in the flowers.  Then took a sponge with Peacock Feathers distress ink and filled in the sky.  I didn’t intend for it to smear with the red but it looks great.  Glad THAT worked out to my advantage. 
It looked a bit bare after surrounding it with the frame so I added the bricks from MFP Brick Wall set.  The ribbon is covering a smear of red.  sigh…I seem to always have inky fingers.  Winking smile  It will be our secret, okay?  Interesting that to me on here the tiles look recessed.  They are not, they are puffed up.  But maybe it’s just an optical illusion.
IMG_4806 (800x600)

I’m in love

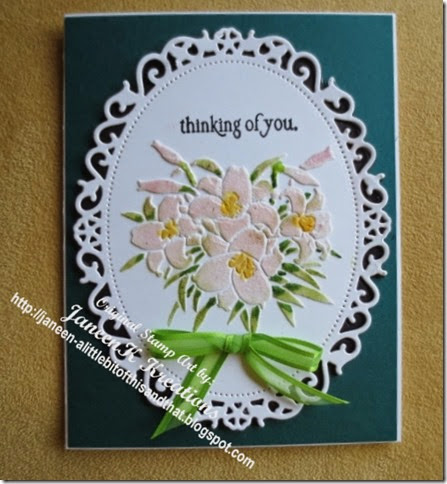
Red heart  The more I work with this paste and stencils the better I like it. This beautiful die cut from Spellbinders was the perfect setting for these flowers. I cut a black piece out the same side and ran it through very carefully to keep all the intricate pieces in place.  So there is BLACK cardstock under that white.  it doesn’t show up well in the pic, just looks like the dark green but in real life it gives an added subtle dimensional layer that looks so elegant.

Dream Weaver stencil so beautiful and delicate.

IMG_4805 (800x600)

sentiment is Mark’s finest papers Marsh Set

stippled color is Distress Inks Victorian Pink and Peeled Paint with touches of copic green

Inspired by….

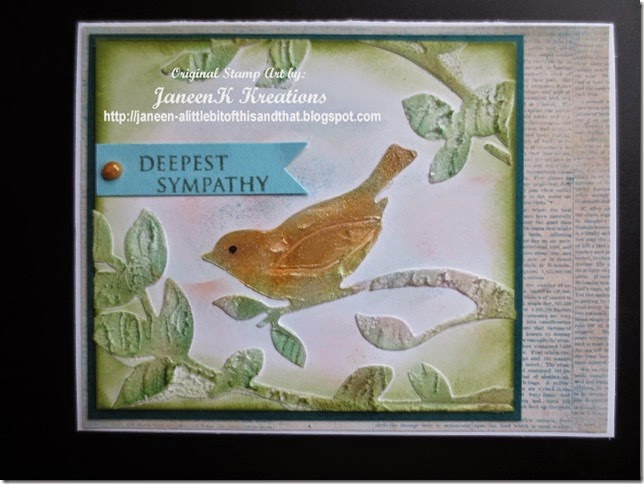
Other peoples inspiration!  Adding this to the month long challenge at Dream Weavers.  The more I see of the stencil work and different ways to use them I got inspired to try a little something different.   Birds also inspire me and I saw some gorgeous Cedar Wax Wings yesterday on my walk.  Spring is coming……..sigh….I get so weary waiting for it.  Everyday looking for some sunshine, some warm temps.  But alas, it stays South.   Oh well, it’s always a fun day in the stamping room and we can make spring happen in there.  I love how these colors turned out.

Using a plastic stencil by Heidi Swapp I used two different types of paste.  The Original DreamWeavers and then also their Pearlescent Paste on the bird.  Usually I try to get the paste all smooth but after seeing the work of others I thought a little texture would be nice on this large image. After it all dried I stippled color onto all parts with small stipple brushes.  I love how shiny the bird turned out.  After cutting the piece to size I used Peeled Paint distress inks on the edges to bring the eye to the center of the card.  Then I went looking for matting papers.  I found this wonderful small print and grabbed it out, cut it to size and then started reading it….guess what???  it’s all about BIRDS.  what a cool serendipity choice. 

IMG_4804 (800x600)

Authentique background papers

Stippled with SU colors.

Viva Pearl Pen

Tuesday, April 22, 2014

The last of the treasure scraps

I did it! I used them all up.  I love that feeling.  Red heart  IMG_4794 (800x599)I actually used more scraps than I had on the table but anyway they all got used and that’s what counts.  Scraps are my inspiration.  I love to see what I can create with them.  This is the negative part of a die cut for the frame and the burlap was a left over piece.  Actually everything on this card is cut from a scrap.  It must be my most frugal card ever.

Stamp #205 a watercolor look

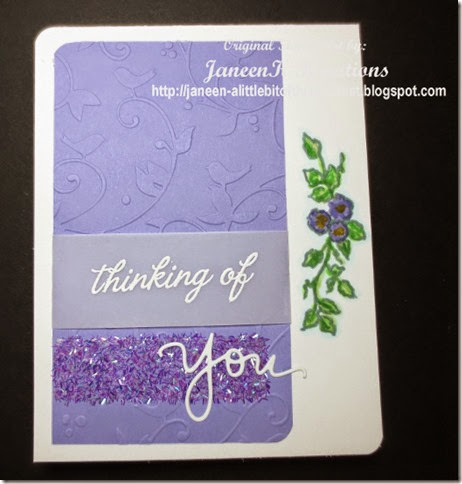
I am still using up the treasure scraps from my desk.  Almost done with them.  I feel so frugal.  In love  I had a scrap of double side adhesive cut out into a label shape and it made the perfect glitter background for my YOU die cut.  I stamped the flower in London Fog (memento ink) and then colored it with markers so there is no harsh black line and it looks a bit more like a water colored image.  I had that scrap of vellum to use up and it worked perfectly to emboss a partial sentiment on.  Quite a simple card really and I really like the clean look of it.

IMG_4793 (800x591)

The details:

Image: Stampin’ Up colored with SU markers

Cuttlebug embossing folder

Recollections glitter

Sentiment: Hero Arts

My Favorite Things Die

Saturday, April 19, 2014

Here’s another

Well, I guess I have a lot of die cuts hanging around waiting to get used.  For this one I layered it three times.  There’s really three colors here but it doesn’t matter, no one will see that brown one on the bottom and it gives my sentiment some dimension and cleans up my desk at the same time.

Note to self:  Once again…Martha Stewart punches DO NOT WORK on 110 lb. cardstock.  Only SU punches work on that.  I wrecked my first piece of card stock and THEN decided to  use a die from MFT on this.  Embarrassed smile

IMG_4758 (700x800)

THE DETAILS:

MFT DIES-SCRAPS

Technorati Tags: ,,

Counting down-just a few more treasures left

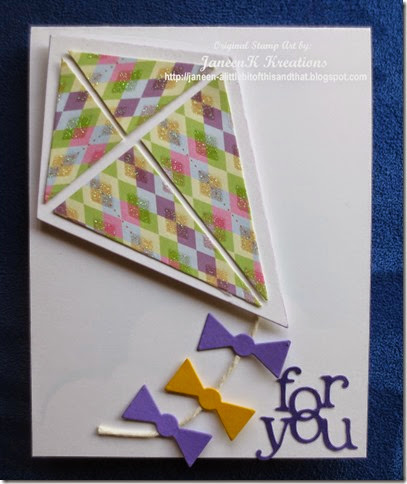
I have been waiting all winter to use this die cut from My Favorite Things.  It was one of their close outs a while back and for the price I just felt I would use it enough.  But it has sat there because it has such a spring feel to it I just couldn’t think of what to make with it.  Well today is a perfect March day:  yes, I know It’s almost the end of April but here in Wisconsin it is a perfect MARCH day.  Fifty five and quite breezy.  Would make a great kite flying day.

I’m glad I found a way to use this little purple die cut words.  They have been hanging around on the desk far to long.  Bye-Bye and I know you’ll love your new home with this high flying kite.

IMG_4757 (672x800)

Technorati Tags: ,,,

Dream Weaver Inspiration

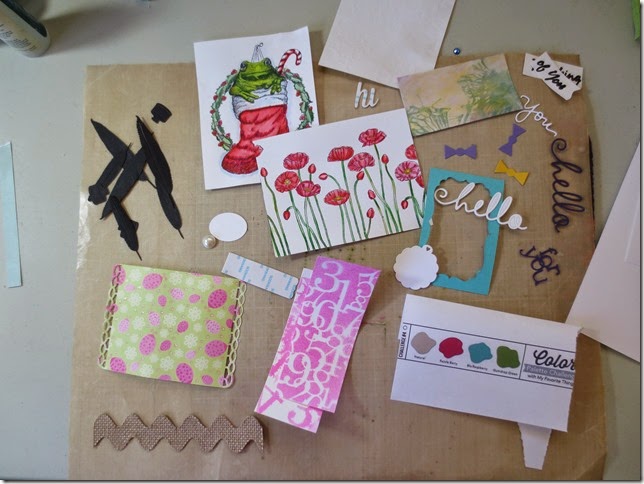
Dream Weavers is having a WHAT INSPIRES YOU challenge.  Truly the thing I get THE MOST inspiration from is using up my bits and pieces after I have cleaned my stamping space and find all these things I just can’t throw away they will look good on something else pieces.  Open-mouthed smile

So this base piece was a plastic stencil that I had run through the big shot when it arrived in my stamping space and I realized it needed to be stenciled a bit deeper for the application I wanted to use it for that day.  But….we keep these things, right.   On this day that I have cleaned and decided to use up all those treasures I have come across this base piece.

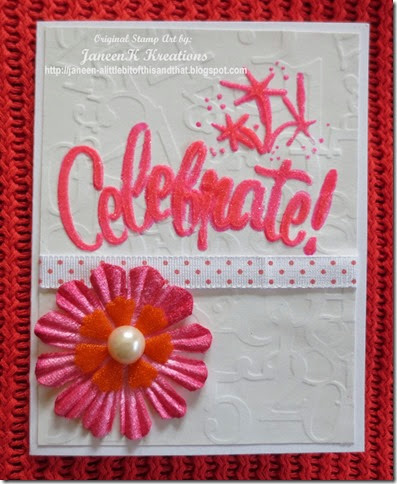
I used a brass stencil and some Dream Weavers translucent embossing paste that I mixed in a bit of Dylusions spray ink. I LOVE the color that turned out.  I scraped it over the matted stencil and then added some glitter to the wet paste.  I let it dry a bit and then heat set it gently so as not to bubble it. The added flower from my stash was the perfect color to go with this happy looking card.  Because I did the wet stenciling last night this card took about three minutes to pull together.  I think I should keep more stenciled pieces on hand.

IMG_4755 (655x800) SUPPLIES:

Stencils: the crafters workshop mini number collage, american traditions Celebrate

Dream Weavers translucent paste, glitter

Technorati Tags: ,,

A fun card base from a fun friend

IMG_4753 (800x600)

When I was in Oregon, I met up with an online Stamping friend.  She drove an hour and half to meet up with me and my friend who lives there.  It’s so very special to meet people whom we have connected with on line for a couple of years and then to meet them face to face.

Well she was a genius and generous and brought along all kinds of images and her brand new InkTense colored pencils for my friend and I to try.

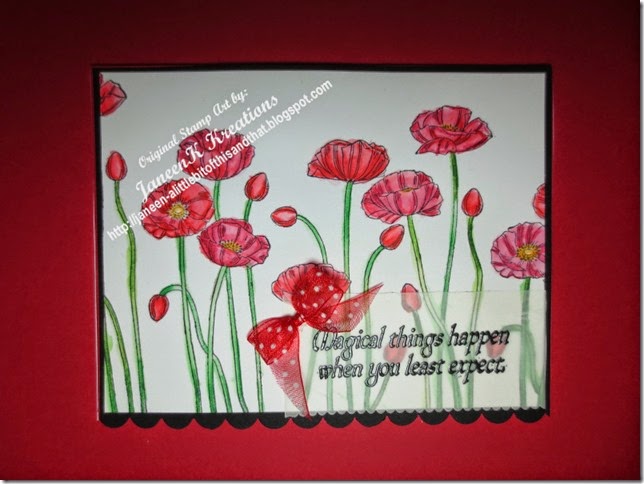
Never have I colored with anything so smooth.  This was one of her images that I colored up and brought home to turn into something.  I love how it turned out.  You can’t really tell on here bu the black sits on a base of red with a really fine 1/16th of an inch border showing.  It’s the perfect show case for these oh so beautiful poppies.

We saw lots and lots of poppy fields in Italy.  Go around the curve and MAGIC before our eyes.

Also part to the use it up treasures on the desk.  now to go and finish up with the remainder of the treasures.  We’re getting there and it feels good to be frugal and get those parts and pieces used up.

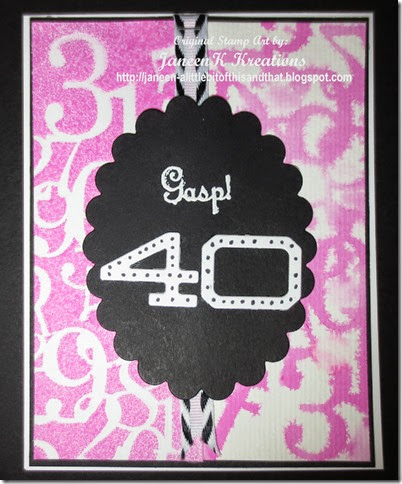
Can my kids really be turning 40???

IMG_4752

Remember I used these two sides on another card recently?  Well I couldn’t throw away two perfectly good halves.  So this one is just a bit different than the first and incorporates another one of those scrap treasures I had on my desk.  That black oval.

MFT number die and I dotted them with a black marker.

Still cleaning up those treasures.

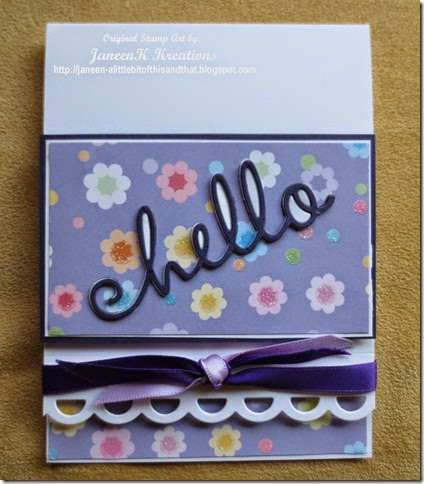
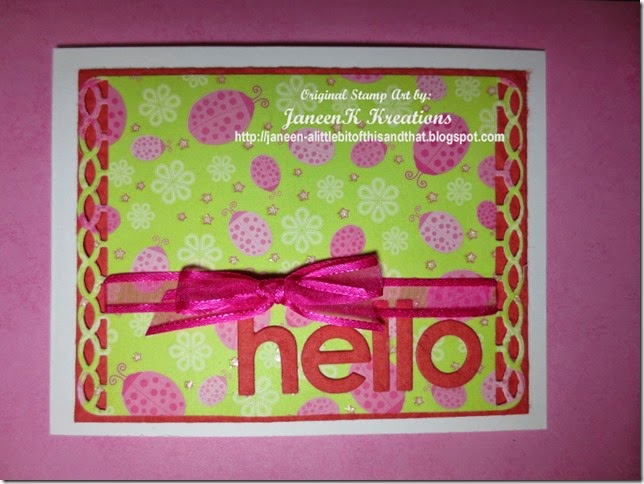
This lady bug piece has been calling my name for several weeks.  I had die cut it to use for a project but in the end it just didn’t work out.  I tried so hard to make it work for things and it just wouldn’t fit in.  Now, last night I see that IT has to be focal point and not try and cover it up in any way.  The HELLO die cut from MFT worked perfectly with this.  That is a very soft home made like paper that I got shopping with my friend Angie Bode.  She and I had SO much fun shopping at Michaels and Hobby Lobby when I was visiting her in GA.  Now when I go to those stores it’s not nearly as fun and I always text her while I am there so it seems like we are shopping together.  You can find her blog HERE.

IMG_4750 (800x600)

Stamps 201-202-203-204

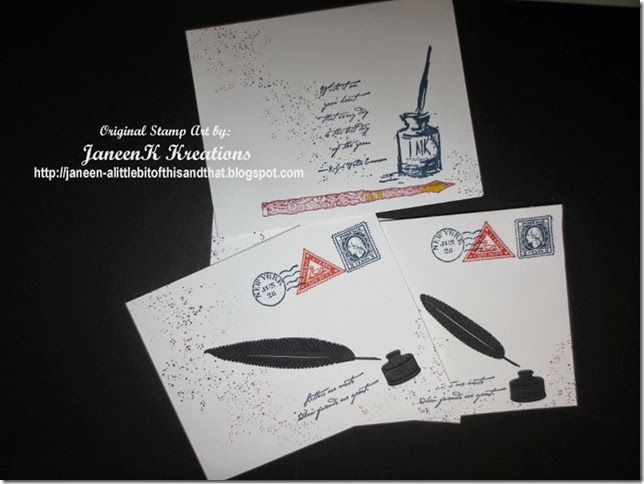
I have this wonderful on-line friend that you should visit!  Princess Judy.  Click HERE for her blog.   She was so nice and sent me these really fun feathers and ink well dies and she didn’t even know that fountain pens and ink are one of my loves.   So I have been saving them to make some special note cards and they just fit this old Stampin’ Up set so perfectly.  So thank you Princess Judy, I bow to you and your ink loving crown. Princess  I really like how these look laid out on cardstock.  Open-mouthed smile   And oh my.  I used the two new inks I got from Simon Says….I really really really like the way they ink up.  I

IMG_4751 (800x600)

was wondering for a bit if I was going to enjoy using them because I found it difficult to get the covers off at first.  There’s no grippy things to grab onto to open the covers.  But after using them a couple of times the covers came off much more easily so now I am tempted because I need new colors kind of badly.  My SU ones are about ten years old and they are losing their inking abilities.  They are kind of warped and hard to use.  But that’s all for in the future, those nice new ink pads.  sigh!

SUPPLIES:

All Stamps  SU except Inkwell.  no name for that one

Simon Says Inks

Embossing powder on the pen

Die cuts were gifted from the Princess

Friday, April 18, 2014

Inspiration and stamps 198-199-200

Well I love to fish and hooray that stamps leading up to 200 are fishies.  These are D.O.T.S. stamps and there is a trio of them so it was fun to use them all. 

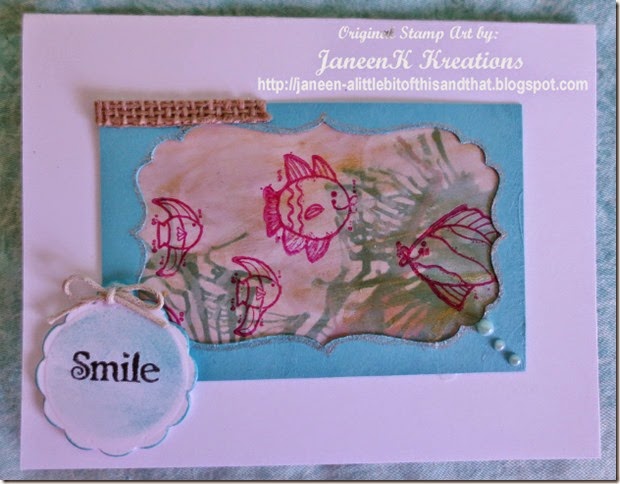
What inspires me the MOST is when I clean the stamping room and I find all these little treasures that I save because, well, because I just couldn’t throw them away.  Maybe they had an intention for a card and they didn’t work, maybe it was a negative die cut, or just a teeny piece that I thought would fit some where……like that little strip of burlap.   Here is the first card I made with the inspiration from my treasures. IMG_4749 (800x598)I am entering this into the MFT color challenge 4 for the month of April.  I got all those colors in the back ground the fish are stamped on. Smile 

mftcolor

IMG_4748

Changing things up

Besides making cards, I also do a lot of digital scrapbooking.  The question I get the most is, do you just digi-scrap or do you get your books printed?  I think that’s funny, because what would be the point of doing all that work if I were not going to print the books. YES….I love my digi books because they take up so little space compared to the great big overstuffed hands on scrap books I made four of. I can get ten digi books in the same space as ONE hands on book.  So yeah, I print them.

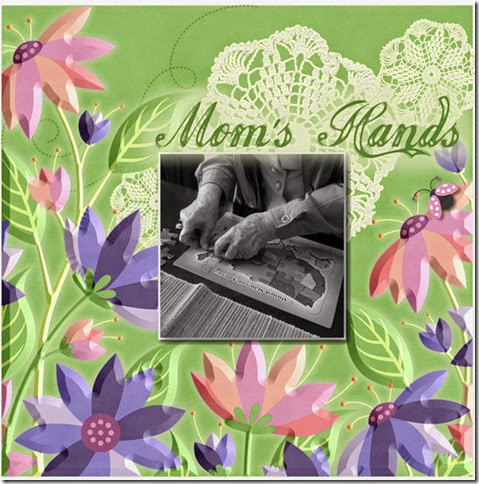
Here’s a page that I did today.  I love how it turned out.  I didn’t take the picture purposely for this but when I saw the picture I decided to do the page.  This was taken on Mom’s 86th birthday this past January.  After posting the photo online I went back into the program and added the date across the bottom of the photo.  12x12 page

Technorati Tags: ,,
moms

Thursday, April 17, 2014

Stamp #197

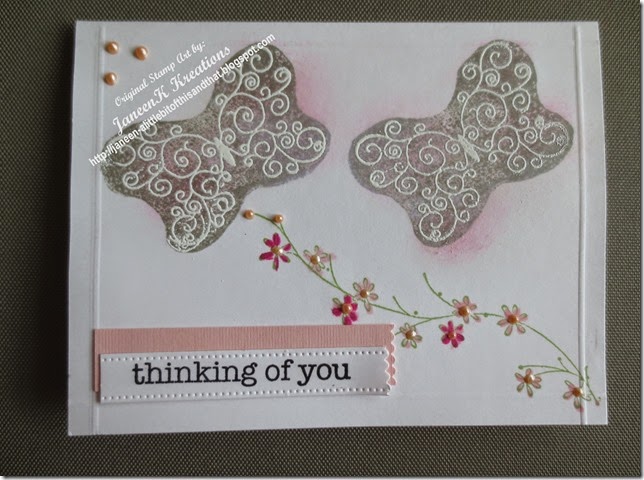
We are getting close to 200 stamps used.  it has gone fast.  there are many many more yet to be inked.  For this one, I turned the clear stamp over and inked up the back part of it with Pumice by Ranger distress ink.  Then I embossed in white over that and just lightly sponged with some worn lipstick color distress ink.

Both of these stamps  I found at Good Will the other day.  They stamp so nicely.  I don’t know whose stamps they are.  I love the trail of flowers that was in one of the CD cases.  and of course my Viva Pearl Pen.  Sometimes the littlest touches make the difference in a card.  I love the look of the tags that I cut the edges with a teeny scallop scissors.

I will enter this one into the Simon Says Wednesday Animal Antics challenge.

IMG_4723

Stamp #196

Mark’s Finest Papers had the finishing touch to go along with the sentiment and image from Sweet N Sassy Stamps.  Brayered the sky and colored the image lightly with Copics.

It looked kind of bare up there on the top and I decided to use the Scor-Buddy and give it some character.

IMG_4727 (680x800)

Technorati Tags: ,,,

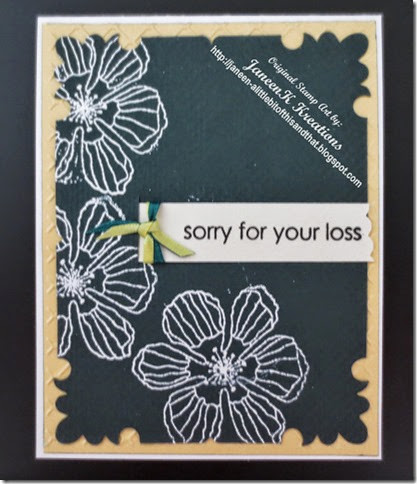
Stamp # 194 Prickley Pear

It was fun to do this easy technique and having won these die cut mats it went really fast.  I should make some more like this just to have on hand.  I surely cannot stay caught up with sympathy cards this year.  Every week for the past six weeks there has been a death of someone close enough to us that warrants cards for the families.  A little piece of my heart goes into each card.   All I did was stamp in white color box pigment ink and emboss with white.  I made a little slit for the greeting tab to slip into, right behind the ribbons.

IMG_4726 (688x800)

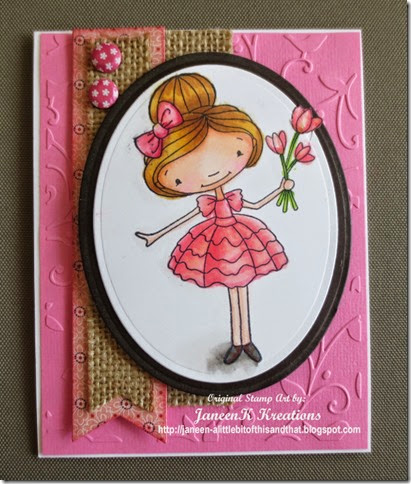
Stamp 193 My Favorite Things

IMG_4721 (678x800)MFTWSC172

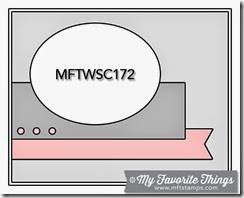
My Favorite Thing is really My Favorite Things Sketch Challenge.  I love the challenge of seeing what I have that can be made into someone else’s pattern. 

I am still enjoying that burlap.  So fun to use texture like that.

My little gal is an MFT image and I colored her with copics.  It’s time for SPRING!!  I’m glad I didn’t make any silly promises to myself about making snow man cards as long as there is still snow on the ground because I have had ENOUGH.  It’s coming down frightfully again today.  My tulips are coming up though and they seem to like the nitrogen that the snow is giving them.  I’m so glad I got that bed raked last week when we had spring that one day. Wilted rose

SUPPLIES:  MFT Image and dies

Cuttlebug embossing folder.  Candies

Tuesday, April 15, 2014

Stamp 192 PSX Ivy

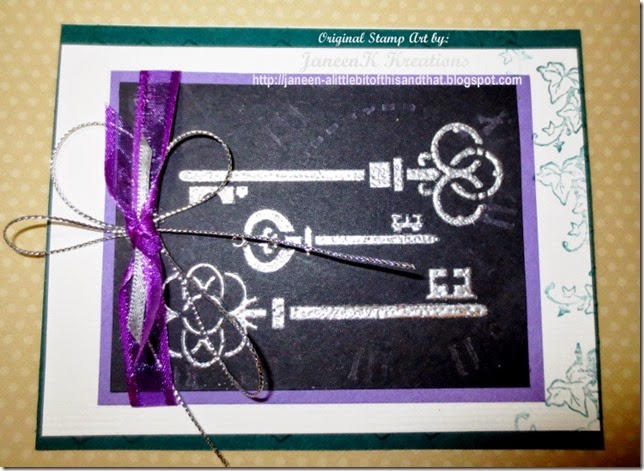
Inspiration challenge at Dream Weavers.  Here’s the inspiration picture. wisteria in Angwin  I liked the purple colors with the green and that ivy running up the tree.  It reminds me of old Southern homes with their fancy skeleton keys. 


Here’s what I came up with.  This was a fun challenge to enter.   ~~I used Dream Weavers original embossing paste and sprinkled silver embossing powder on the keys.  I let that dry and then used the heat gun on it in the morning.  I added the silver cord to the ribbon to mimic the trailing vines of the Wisteria.  Mounted it on the purple because of the Wisteria color and stamped the ivy trail along the edge.  I quite like how this turned out and it could easily be a masculine card.

IMG_4653 (800x584) (2)

Supplies:

Brass stencil –Momenta Keys

Plastic Stencil- The Crafters Work Shop (clocks)

Image-PSX mini English Ivy

Dream Weavers Original Paste

Silver Emobssing Powder

Recollections Ribbon

SU silver Cord

MFT Grape Jelly Card Stock

Stamp #191

Oh he’s so cute and hardly ever gets to come out of the box.  I don’t know why I overlook him.  Just thought I would try some water color pencils on him this time.  He fits well into the Simons Says Wednesday Challenge, so we shall hop on over there and enter him in.
IMG_4639 (645x800)
Supplies:
Image: Stampin Up
Sentiment: Hero Arts
Dies: My Favorite Things Blueprints 5, Simon Says Mini Hearts, and Spellbinders shapeablities
Embossing Folder: Lifestyle Crafts Weave
Staedler Water Color Pencils.
Viva Pearl Pen

Monday, April 14, 2014

TUTORIAL and Stamp #190

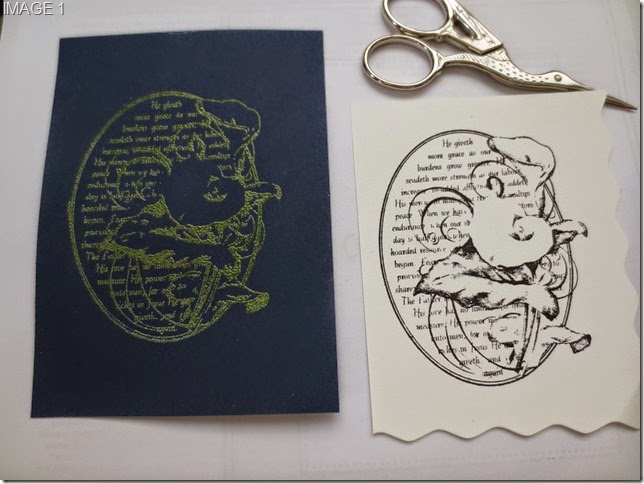
I saw this technique in a stamping magazine back from the late nineties.  I have never seen it any other place.   Paper TOLE is described as: In a nutshell, Paper Tole is the process of taking identical prints, cutting out its component parts, shaping and sizing these 'components', then layering them on the 'base' print to give the finished piece its special 3-D effect. And, with a little experience, tolers can make projects as complex as they like.
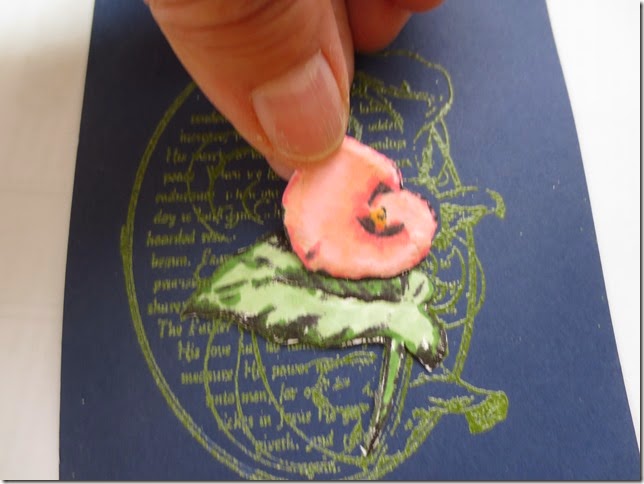
Here is a tutorial to show you how to do a very very simple faux tole look because it really only has the one layer added to it.  The stylus is what gives you 3D look.


Stamp your image twice.  Once on your card base and once on a scrap piece for cutting out certain portions.
IMG_4626

IMG_4628
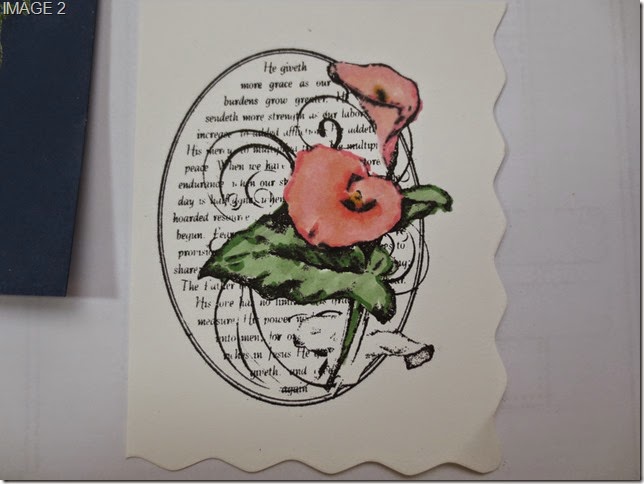
Color the pieces you are going to cut out.


IMG_4629
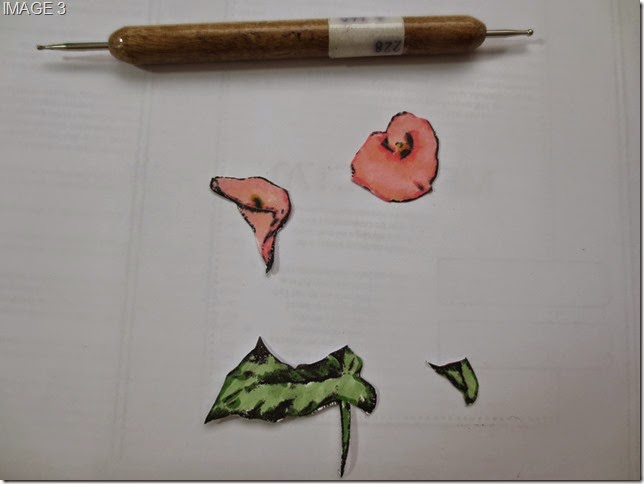
Cut out the pieces and using a marker the same color as the images run your marker around the outside edges of the cut out pieces so there are no white spots showing.  (I forgot to take a picture of that step) 


IMG_4630
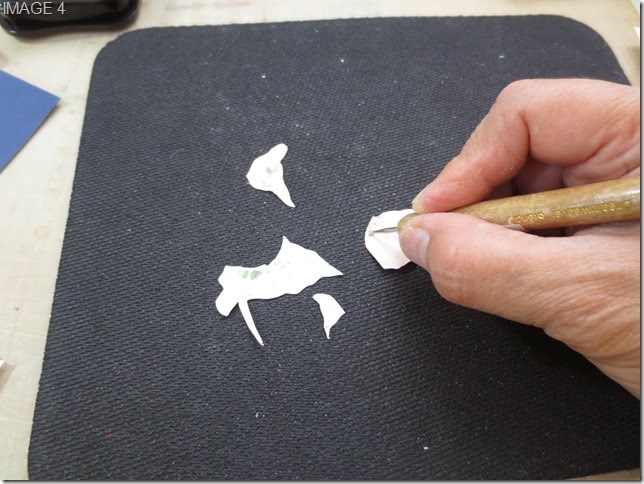
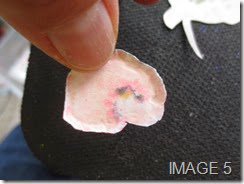
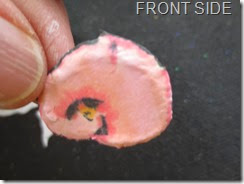
 Using the thicker end of a  stylus and a foam cushion of some sort, (I use a mouse pad)  Turn the cut out images over and run your stylus around the OUTSIDE edges of each piece.  It will look like the small picture when you are finished.
IMG_4631
IMG_4632


IMG_4633
 Using different size dimensionals for greater dimensional look; adhere to backs of your pieces.  I used SU dimensionals for the flowers and I rolled up glue dots for the leaves so they will be more recessed.

IMG_4634
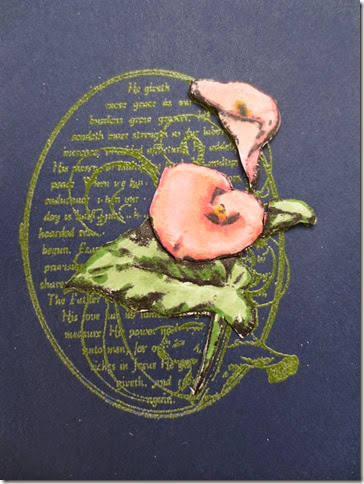
Adhere your colored pieces with the flatter dimensionals first and the pieces with the thicker dimensionals over top of them. 

IMG_4636
Do you see how the pieces add dimension.  On this one you can see what happens if you don’t use your markers around the edges of the cut out pieces.  I went in and corrected that and added more color to the images after they were placed to give them a bit more dimensional look.  Remember it’s darkest in the areas that sit UNDER something. Or where the light would not hit so prominently.


IMG_4638 (666x800)


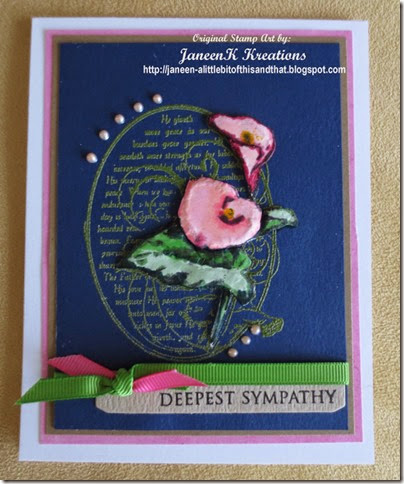
Finish your card.  You can see how the stylus used on the back pushes out the edges to give it a wonderful three dimensional look.  This can be done with many different types of images.  Open space images seem to work the best and are easier to use the stylus on.
Try it and have fun.  Thanks for looking.
SUPPLIES:
IMAGE: Sweet N Sassy Graceful Calla Lily
SENTIMENT: Hero Arts Clear Stamps
Viva Pearl Pen in Salmon
Ranger Embossing Powder
SU ribbons